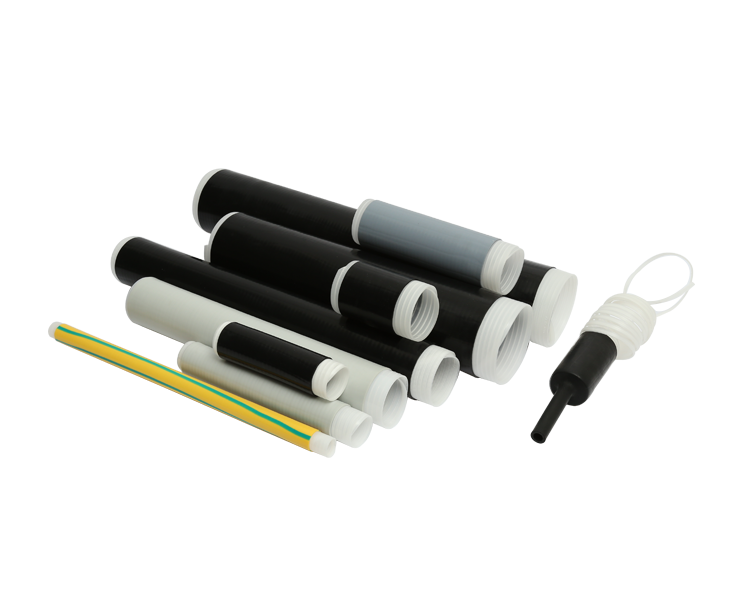
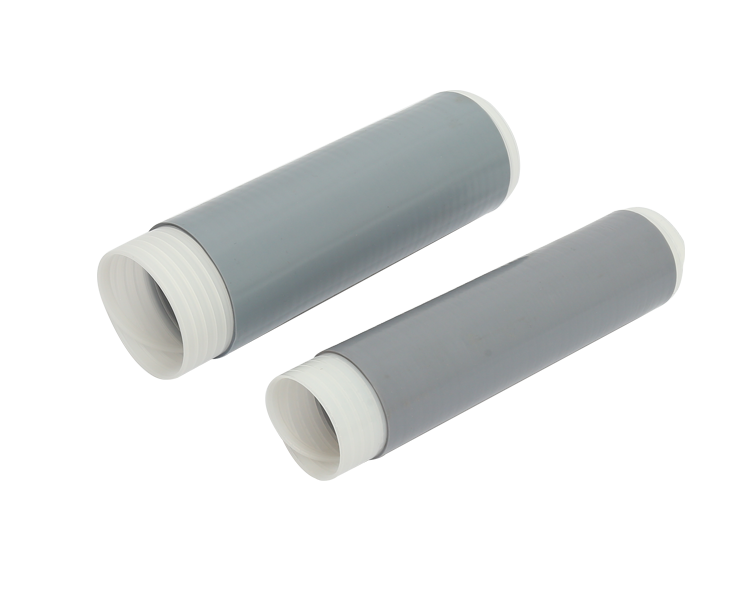
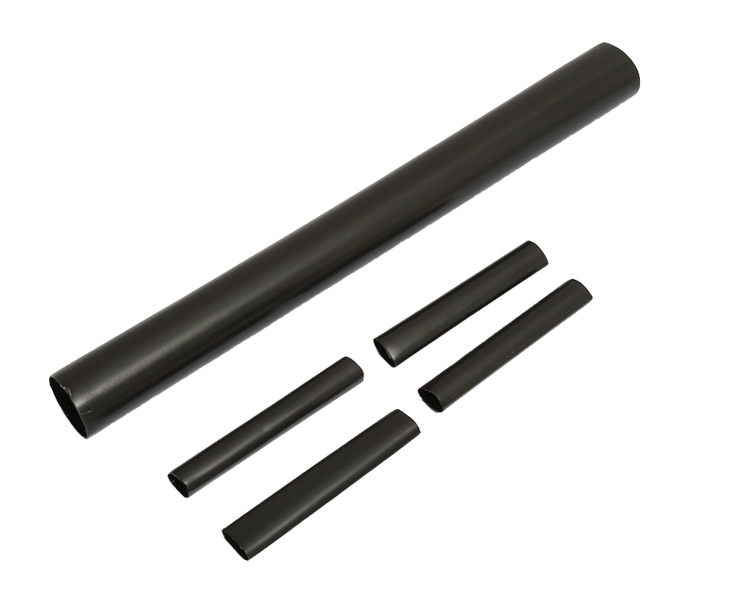
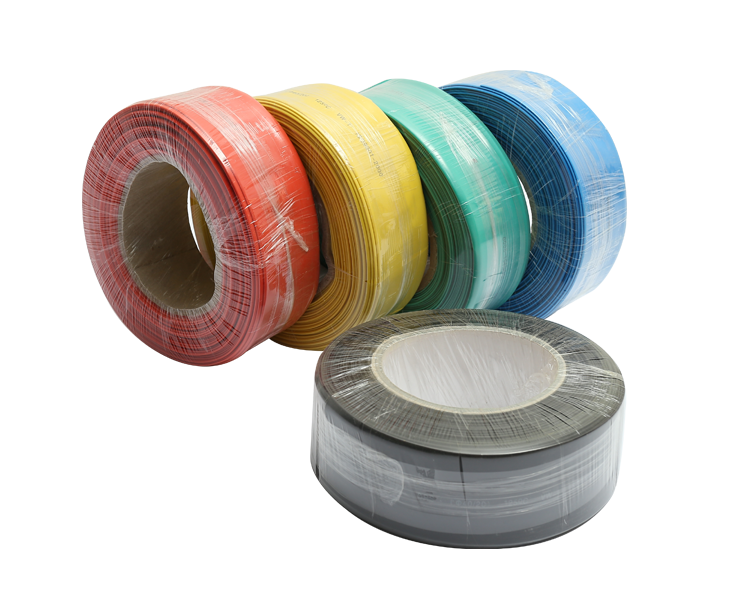
Methods and Procedure for Installing 10kV Cold Shrink Cable Accessories
|
Tools / Materials : |
||||
|
Knife |
Braided Ground Wire |
Constant Force Spring |
Insulating Cleaning Towel |
Silicone Paste |
|
Gloves |
Semi-Conductive Self-Adhesive Tape |
Insulated Self-Adhesive Tape |
Waterproof Sealant |
PVC Tape |
|
Abrasive Paper |
Tapeline |
Band-Aids |
|
|
Methods / Procedure :
1. Strip the outer sheath, straighten the cable, and remove 600 mm (outdoor) or 510 mm (indoor) from the end of the cable to strip the outer sheath. Take 25mm of metal armor from the end of the outer sheath and tie it tightly with copper binding wire. Keep 25mm armor from the end of the outer sheath and strip the rest. (Note: Sand or file the retained surface.) Strip the inner sheath to retain the 10mm inner sheath at the fracture, and strip the rest. (Note: In order to avoid the copper shield unraveling, two layers of PVC tape can be temporarily wrapped around the core end during the process of stripping the inner cushion.)
2. Install the shield ground wire with a small diameter constant force spring, and clamp the ground wire on the metal shield. Note: The constant force spring should be as close to the bottom of the metal shield as possible, and the ground wire should be stuck firmly in two layers repeatedly. It is better to keep the two ground wires 180 degrees apart.
3. Wrap the armored and metal-shielded grounding parts with filler adhesive, and then wrap a layer of J-20 self-adhesive insulation tape around the filler adhesive. Note: The diameter of the head is 8~10 mm smaller than the diameter of the casing.
4. Install the cold shrink straight pipe, insert the long straight pipe on the core wire with the cable upwards, and pull the cable until the bottom of the spiral support pipe is flush with the straight pipe. Move the straight pipe 40mm away from the lap sheath and hold the bottom of the straight pipe with your hand so that it does not slide. Around the outer force to pull until the entire straight tube completes uniform contraction.
5. Wrap the semi-conductive strip from the end of the semi-conductive layer. After the end of the semi-conductive layer is neatly wrapped (circular), wrap it down to the metal shield layer, and wrap two layers of semi-conductive strip in the metal shield layer. Measure down 20mm from the top of the liner (40mm from the half guide down as the positioning line), and make a ring mark with PVC tape (or phase strip) corresponding to the phase of the cable.
6. Install outdoor (indoor) cold shrink terminal body from the top of the semiconductor shield up to 100mm evenly spread a layer of silicone grease, and set it into the outdoor cold shrink terminal body or indoor cold shrink terminal body. Draw a few pull strips from the top of the outdoor (indoor) terminal body, make the end of the spiral pipe flush with the bottom of the outdoor (indoor) terminal body, and then put it on the core wire, make the bottom of the pipe match the marked line, grasp the pipe by hand, pull the pull strip, make the pipe evenly shrink on the cable core wire.
7. Strip the insulation, press the wiring terminal, and install the sealing tube. Reserve L+5mm core wire and insulation from the top of the cable terminal, and saw off the rest. Retain 2mm core insulation and peel off the rest. Insert the terminal and crimp under the terminal as far as possible to preserve the seal section. Wrap waterproof glue around terminals, insulation and gaps until filled. Insert the sealing tube, remove the supporting spiral tube, and make it shrink evenly. Wrap a phase strip (or PVC tape) around the seal tube.
8.Single Core 10kV Cold Shrink Cable Outdoor(Indoor) Termination installing finished.

 English
 简体中文
简体中文


